It has been a while since I have posted anything to my blog so I thought my current blogging setup would be a good first candidate. Over the years I have used various blogging platforms with different hosting options and lost countless blog posts during the migrations. WordPress, Blogger, Posterous, Ghost, Medium, and Jekyll… This time though I decided to settle on one platform once in for all.
(My) Requirements For A Blogging Platform
I came up with a list of requirements that I look for in a blogging platform. The idea was that instead of focusing on managing servers, upkeeping with security patches, or tweaking configurations I would like to focus on creating content.
- I should own my content.
- Allows me to export/import to/from a particular format.
- Writing should be the focus, not the configuration or any other useless time-sinking activities related to the platform.
- CMS to manage posts easily.
- Requires little investment in order to manage and upkeep the platform.
- Reasonable price – I have no problem paying if it satisfies all of my requirements.
- Secure platform –I have no time to deal with security patches and updates.
- Reasonably fast site.
- Allow me to use my custom domain and plays nicely with my current DNS setup.
I looked at all the available options for this and Jekyll came at the top. I always had the idea that it does not have good support for CMS and sometimes it makes you focus too much on the configuration rather than creating content. For that, I found a couple of solutions.
Medium is not an option as it does not satisfy the first requirement – you don’t own the content.
Blogger is dead as a disco and I don’t trust Google to keep that platform up and running. It might go to Google graveyard.
Ghost is great but a hosted version is too pricey for my liking 9$/month is too much with too many limitations. A self-hosted Ghost is an option but I had lots of problems with that in the past.
Jekyll checks all the boxes for me and especially when I combined that with Netlify.
Hosting
I have the option of using Github but it has some restrictions on what you can and can’t do with the Jekyll setup. The other option was using Netlify which pretty much nails down all the requirements I have when I host the Jekyll site there.
Theme
There are various theme options with Jekyll and it is also really easy to create your own if you are not satisfied with what’s out there. Heading over to the Jekyll documentation and you can create a basic blog within 30 minutes. There are also lots of Jekyll theme sites you can choose themes if you don’t want to touch HTML, CSS…
Set up
- Push the Jekyll blog setup to Github.
- Enable Netlify to access the Github repo for the blog.
- Set the build command to `bundle exec jekyll build`
- Netlify will push your site to a unique auto-generated URL
<something>.netlify.app
DNS
If you want to use your custom domain with Netlify you have two options
- Use Netlify DNS server for everything
- Set up CNAME and A records at your own DNS provider.
I chose the second option as I have a bunch of other DNS configurations at my current DNS provider (MX, TXT records…)
I added two records, the first CNAME for the subdomain www to
A Record    @    75.2.60.5
CNAME      www   <something>.netlify.app
CMS
One of the biggest factors for choosing the Jekyll + Netlify combination was Netlify CMS as it gives you a really nice CMS to handle all of your blog site needs. Well, you can actually do the same with the Jekyll admin plugin but you still have to save changes locally and push to git in order site to generate the new content.
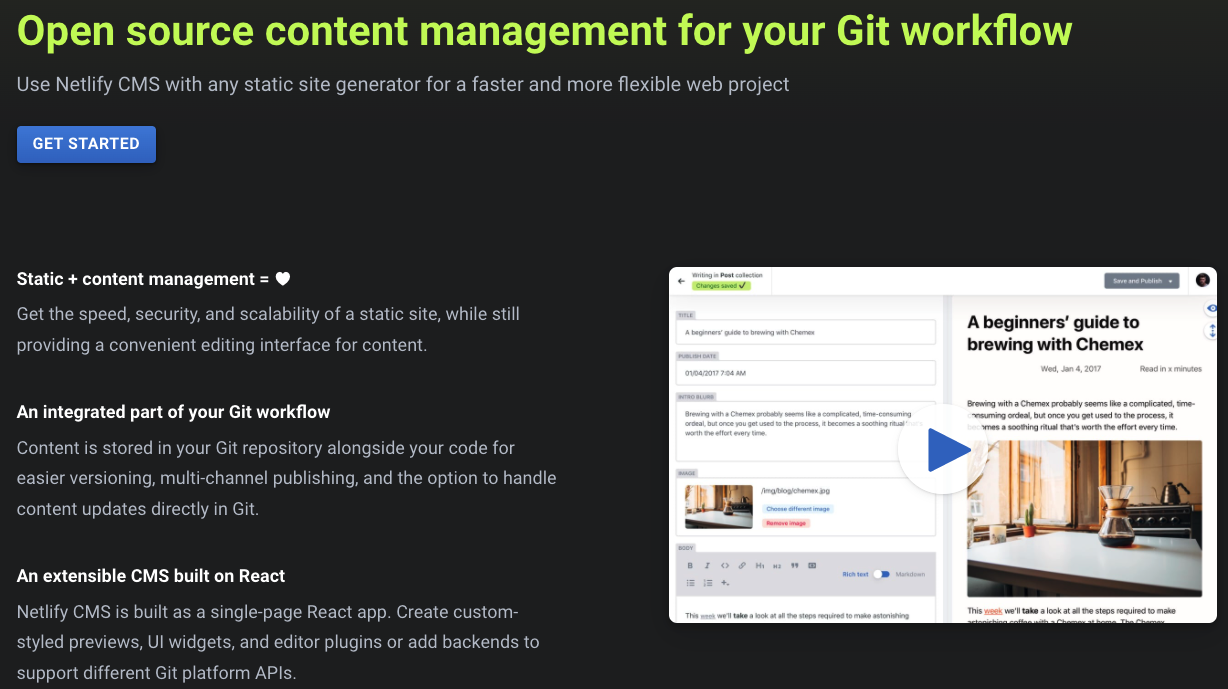
Netlify CMS is an open source content management system for your Git workflow that enables you to provide editors with a friendly UI and intuitive workflows. You can use it with any static site generator to create faster, more flexible web projects. Content is stored in your Git repository alongside your code for easier versioning, multi-channel publishing, and the option to handle content updates directly in Git.

It also allows you to configure other static site generators, not just Jekyll.
Set up of the CMS is also fairly straightforward. Here are the steps for Jekyll;
- Create
/adminfolder at the top level of your Jekyll setup. - Put index.html and config.yml for the CMS setup.
- Enable identity provider Github to register yourself as a user and access the admin dashboard securely.
- Add Identity Widget to your site to connect the frontend of CMS to the backend.
- Access your site via yourdomain.com/admin and sign up as one and only user.
- Disable further signups by disabling registrations. (Site Settings -> Identity -> Registration)
For the full documentation with sample blog setup head over to Netlify CMS documentation for Jekyll.
The final result is a CMS that allows you to manage your blog posts and pages with an integrated workflow for your content creation.

Workflow
I am really satisfied with the current setup as it hides some of the boring stuff away and allows me to focus on the content. Writing something is a matter of heading to /admin, writing either in markdown or rich text editor. It also has built-in workflow support which I believe is useful if you are working on a site or blog where it has multiple authors.